
Blog
E-Bike Delivery Checklist: Assembly and First-Ride Checks

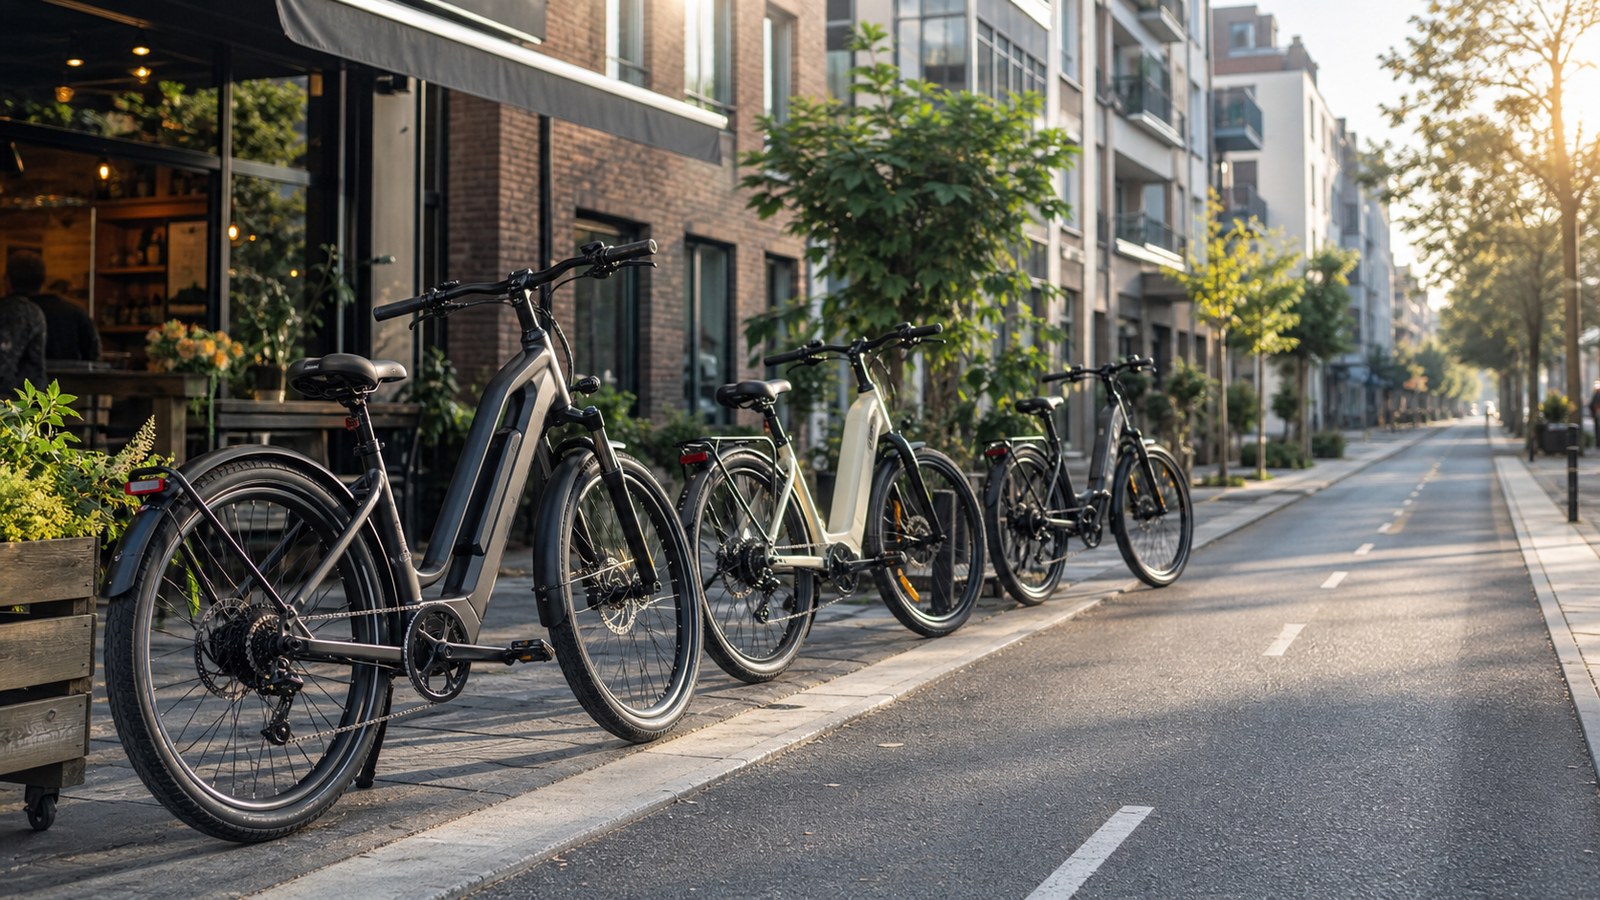
An e-bike delivery checklist turns a large cardboard box into a safe first ride. Most direct-to-consumer electric bikes arrive partly assembled, but “mostly built” does not mean “ready to ride without checking.” Handlebar alignment, pedals, tyre pressure, brakes, battery seating, and fastener torque still deserve calm attention.
The goal is not to become a professional mechanic in one afternoon. It is to follow the model manual, recognize the jobs you can do correctly, and stop before uncertainty becomes damaged threads or an unsafe test ride.
E-Bike Delivery Checklist: Inspect the Box First
Before cutting tape, photograph any crushed corner, puncture, water damage, or torn section. Open the box from the marked side and avoid pushing a long blade deep inside. Cables, paint, tyres, and accessories may sit close to the cardboard.
Lay out the charger, pedals, keys, manual, reflectors, tools, loose hardware, and accessories. Compare everything with the packing list. Do not discard foam, axle spacers, or the box until the bike has passed inspection and the seller’s return instructions are clear.
| Delivery stage | Check | Stop if |
|---|---|---|
| Box | Damage photographed before opening | Impact appears to have reached the frame or battery |
| Frame and fork | No cracks, dents, deep scratches, or bent parts | Structure or alignment looks doubtful |
| Cables | No cuts, crushing, tight bends, or stretched sections | Wiring or hydraulic hose is damaged |
| Battery | Case and terminals look clean and undamaged | There is swelling, odor, fluid, heat, or impact damage |
| Small parts | Manual, charger, pedals, keys, tools, and hardware present | A safety-critical part is missing |
Read the Model Manual Before Installing Parts
Assembly order varies. One bike may arrive with the handlebar turned, another with the stem loose, and another with the front wheel removed. Pedal threads are also side-specific. Forcing the wrong pedal into a crank can destroy the threads quickly.
Use the manual’s torque values, direction arrows, washers, spacers, and cable routing. Generic internet numbers are not a replacement for the bike maker’s specification. Park Tool’s explanation of torque and fastener preload shows why both under-tightening and over-tightening can cause damage.
- Confirm the right pedal and left pedal before threading either one.
- Start threads by hand so cross-threading is easier to feel.
- Align the handlebar and controls before final tightening.
- Tighten multi-bolt faceplates evenly in the manual’s sequence.
- Do not guess on carbon, suspension, brake, wheel, or steering hardware.
Check Steering, Wheels, and Tyres
Stand in front of the bike, hold the front wheel between your knees, and check whether the handlebar points in the same direction. Turn the steering slowly from side to side. It should move smoothly without cable tension, grinding, or unexpected tightness.
Confirm each wheel is seated correctly and secured according to the manual. Spin it and look for severe wobble, rubbing, or an improperly seated tyre bead. Inflate only inside the approved range on the tyre and bike documentation.
Park Tool’s tyre and tube guide explains bead, tube, valve, and rim inspection. A delivery-day tyre problem should be solved before the motor adds speed and weight to the situation.
Test the Brakes Before Powering the Motor
Squeeze each lever firmly. The lever should feel consistent and should not reach the handlebar grip. Roll the unpowered bike a short distance and test each brake separately at walking pace. Listen for severe scraping and check that the wheel stops predictably.
Disc brakes can make light contact while bedding in, but a bent rotor, loose caliper, leaking hydraulic system, damaged cable, or weak lever feel needs proper attention. The guide to e-bike brake types and buyer checks helps explain what changes between mechanical and hydraulic systems.
Keep fingers and packaging grease away from rotors and pads. Contamination can reduce braking performance and may require cleaning or pad replacement.
Seat and Charge the Battery Safely

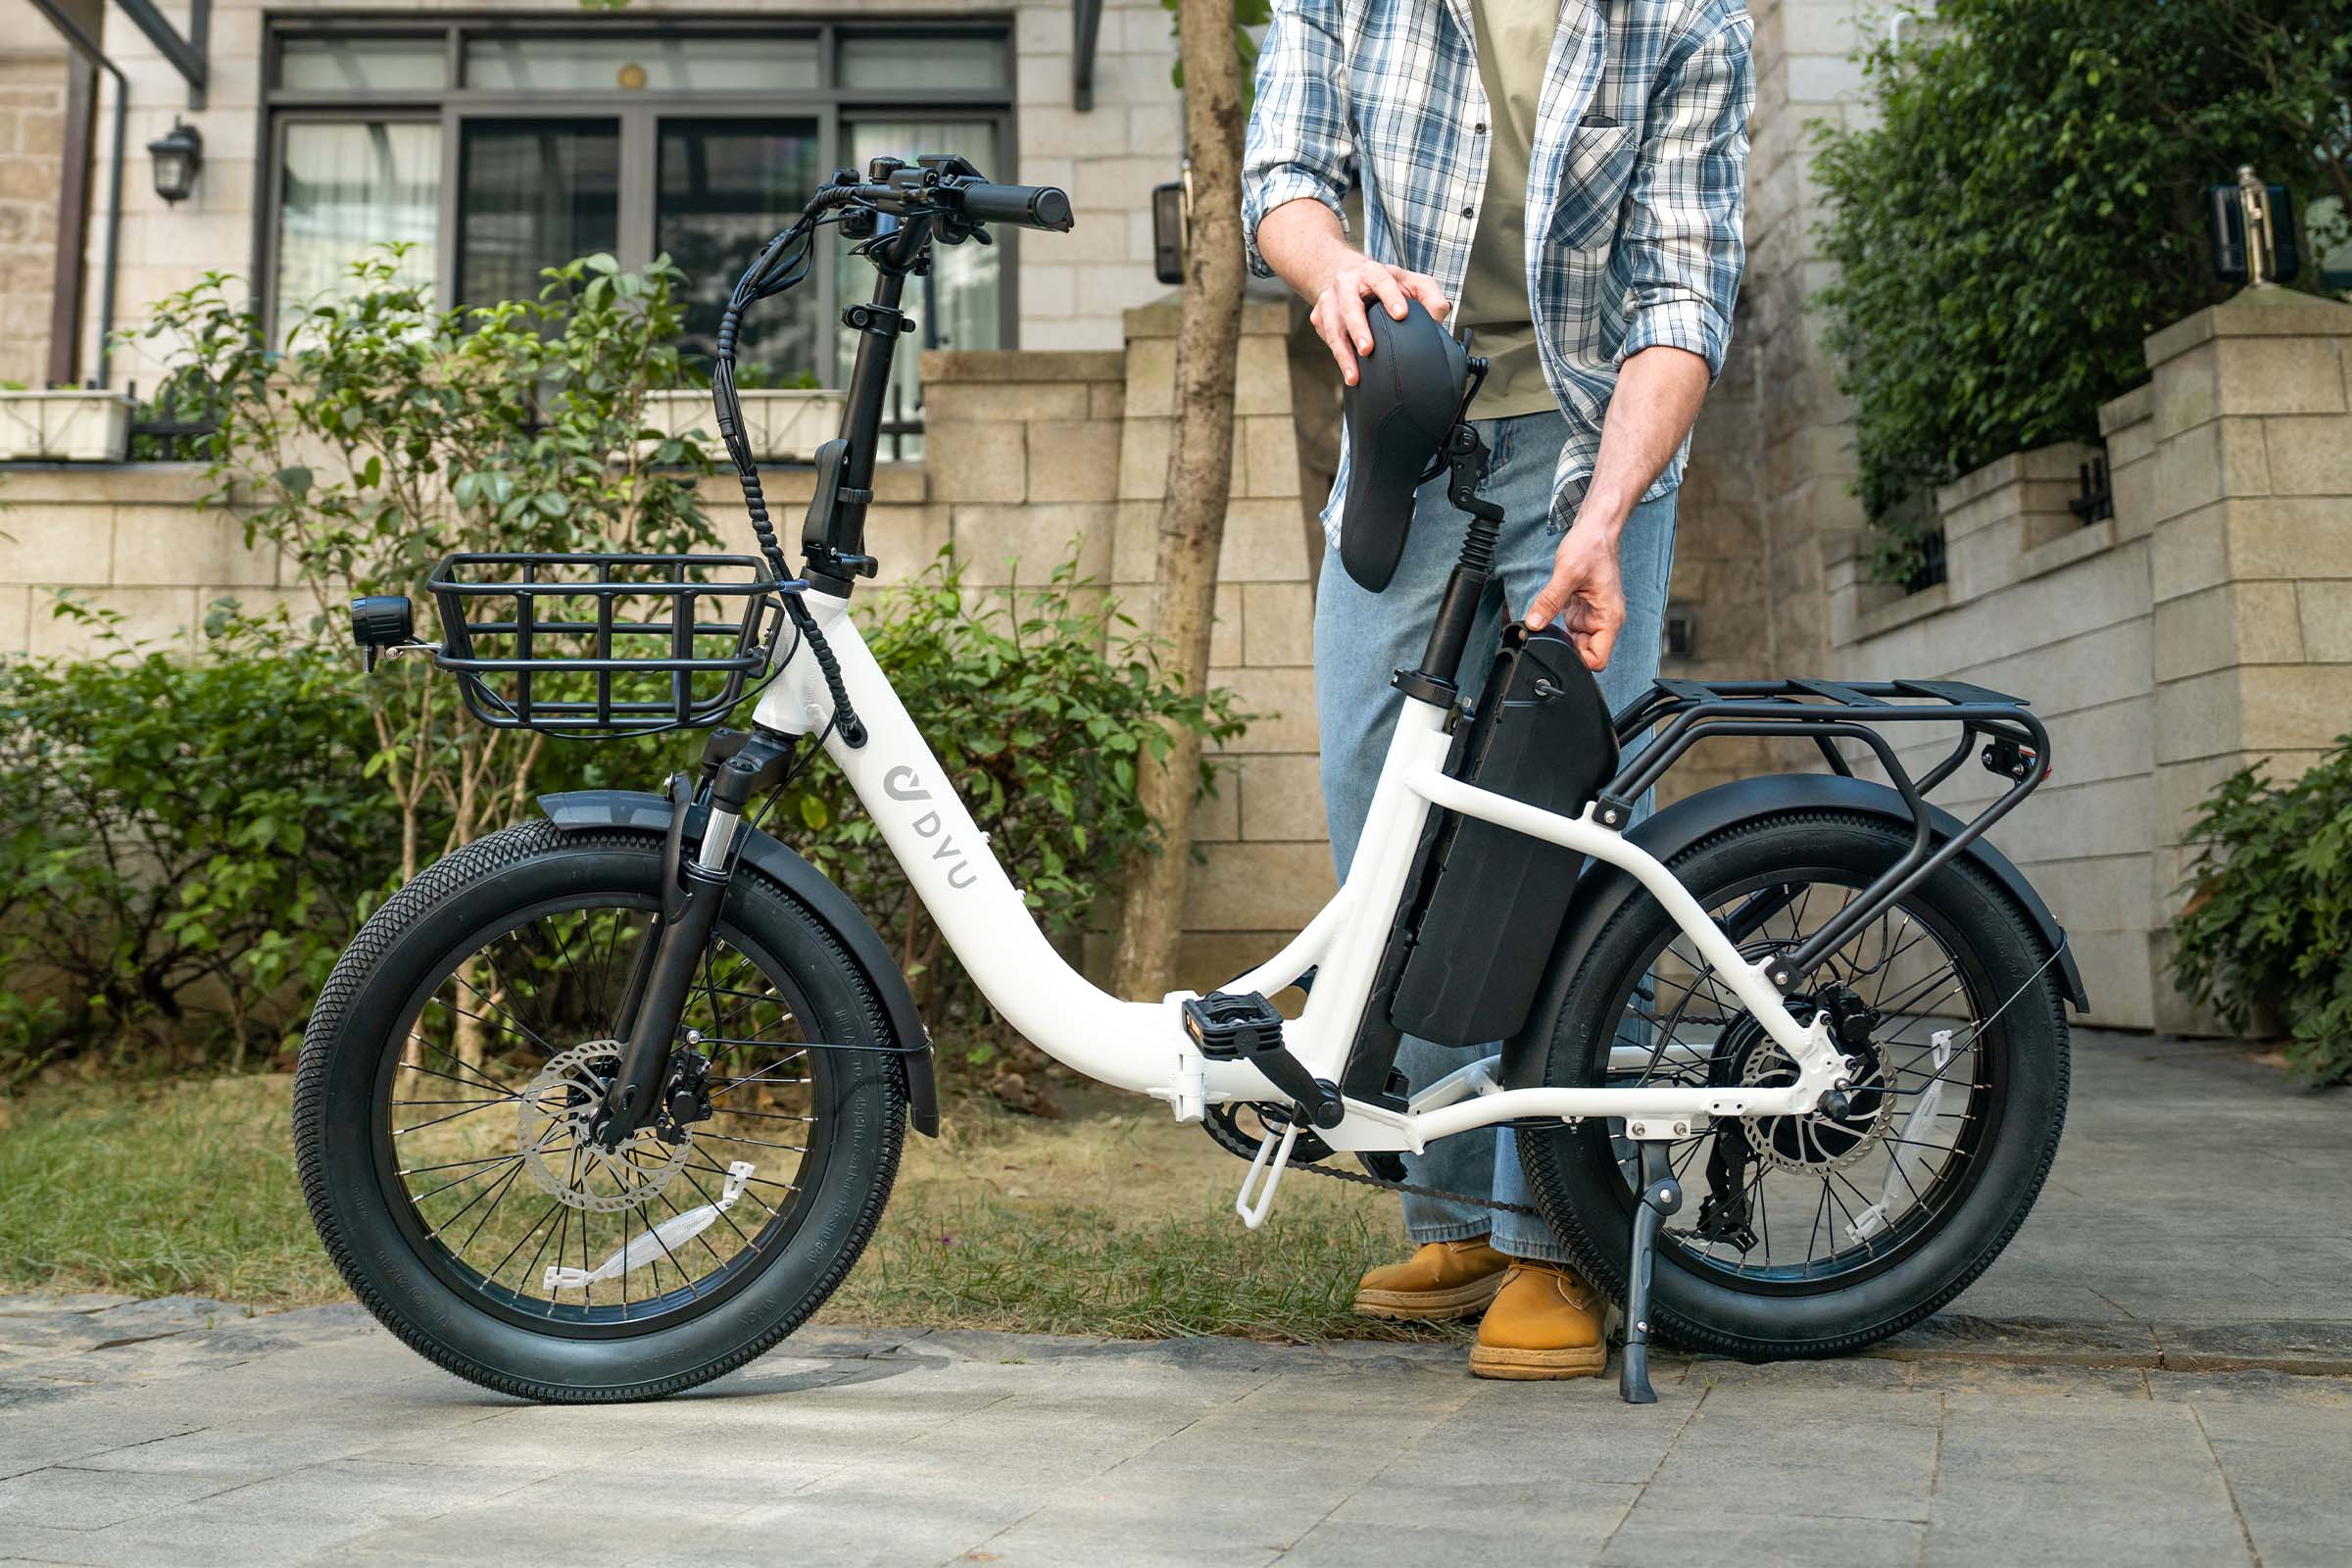
Inspect the battery housing, mount, lock, terminals, charger, and cable before use. The connection area should be dry and clean. Insert or remove the battery exactly as the manual describes, support its weight, and confirm the lock is fully engaged.
Use only the specified compatible charger and charge in a dry, ventilated place away from flammable clutter. A battery that is swollen, cracked, leaking, unusually hot, or giving off an odor should not be charged. Contact the seller or a qualified service provider.
Shimano’s e-bike battery user guidance is written for Shimano systems, but its core habits are broadly useful: check installation, use the specified charger, keep connection areas dry, and investigate faults before riding.
Set the Display and Assist Controls Conservatively
Before the first ride, learn how the display turns on, how the assist level changes, where the walk-assist or throttle control sits, and how the motor cuts off. Do this with the drive wheel safely on the ground and the bike under control. Do not explore unfamiliar controls while moving through traffic.
Confirm that speed, battery level, lights, and warning icons behave as the manual describes. If the display reports an error, record the exact code instead of clearing it repeatedly. A connector may have shifted during shipping, but diagnosis should follow the maker’s instructions.
Start the first test in the lowest assist mode. Motor response can feel stronger than expected on a new bike, especially during a tight turn or uphill restart. A conservative setting gives the rider time to learn the control logic before adding speed.
Two Current E-Bike Formats and Their Delivery Priorities
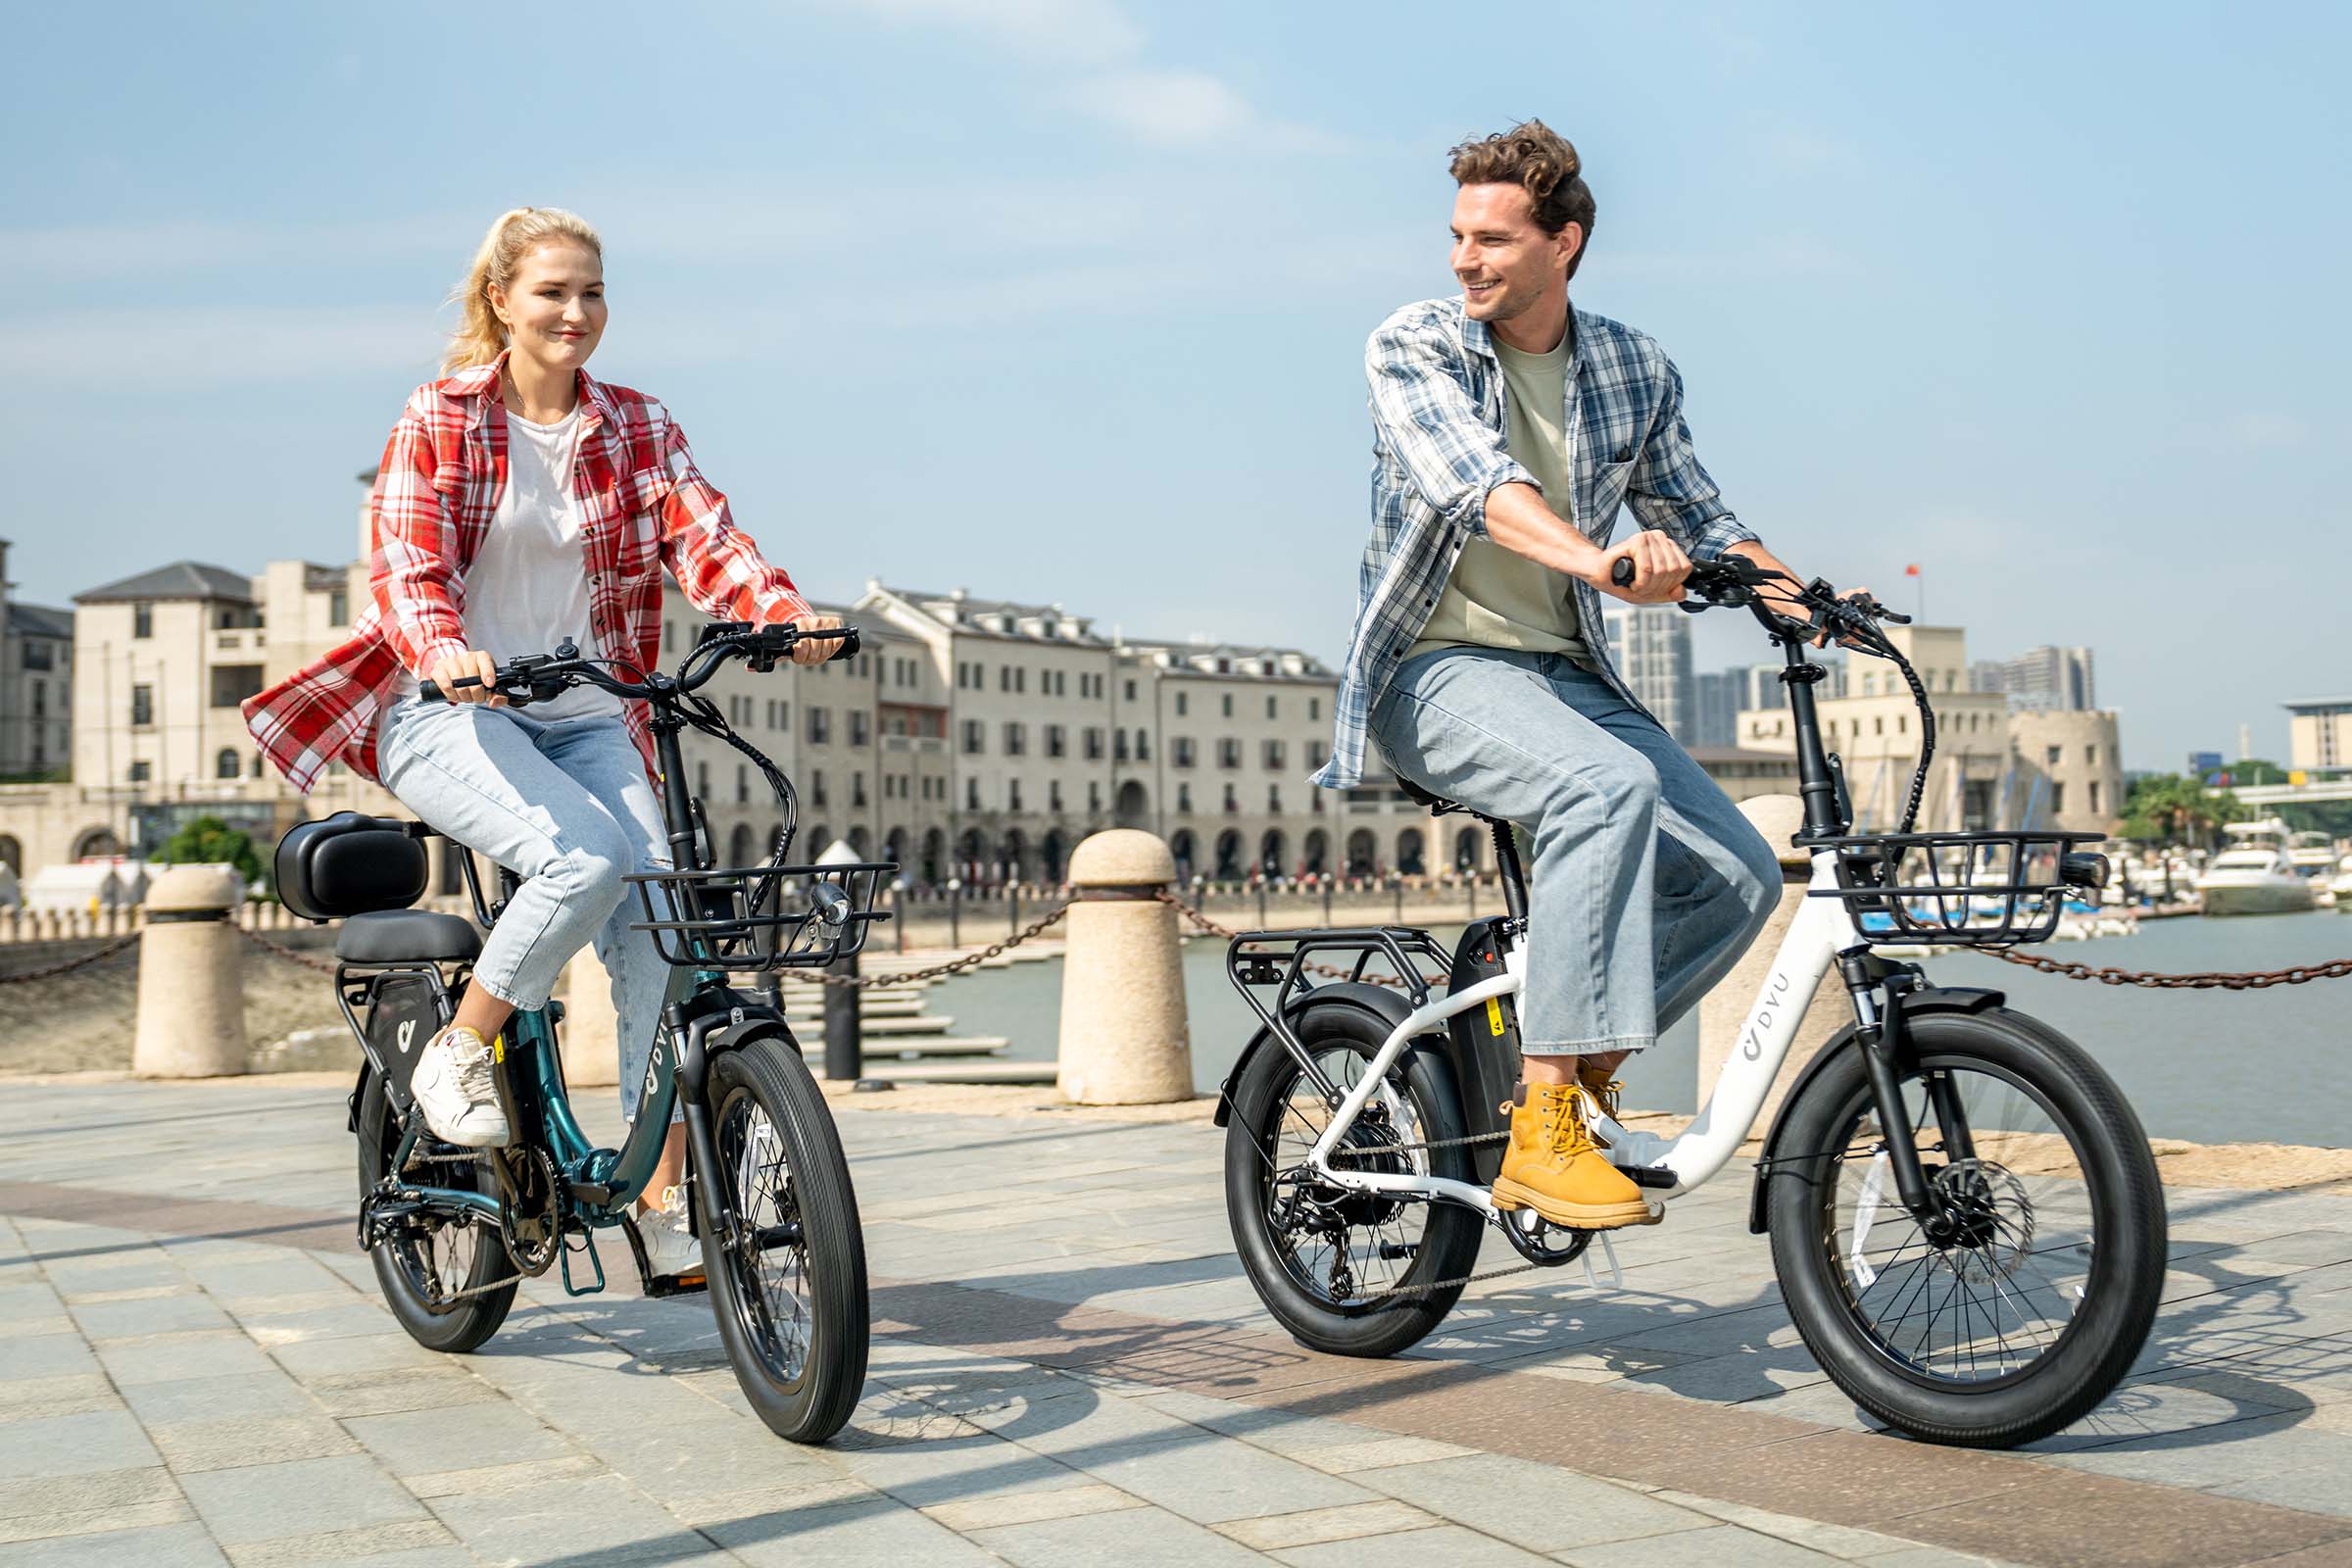
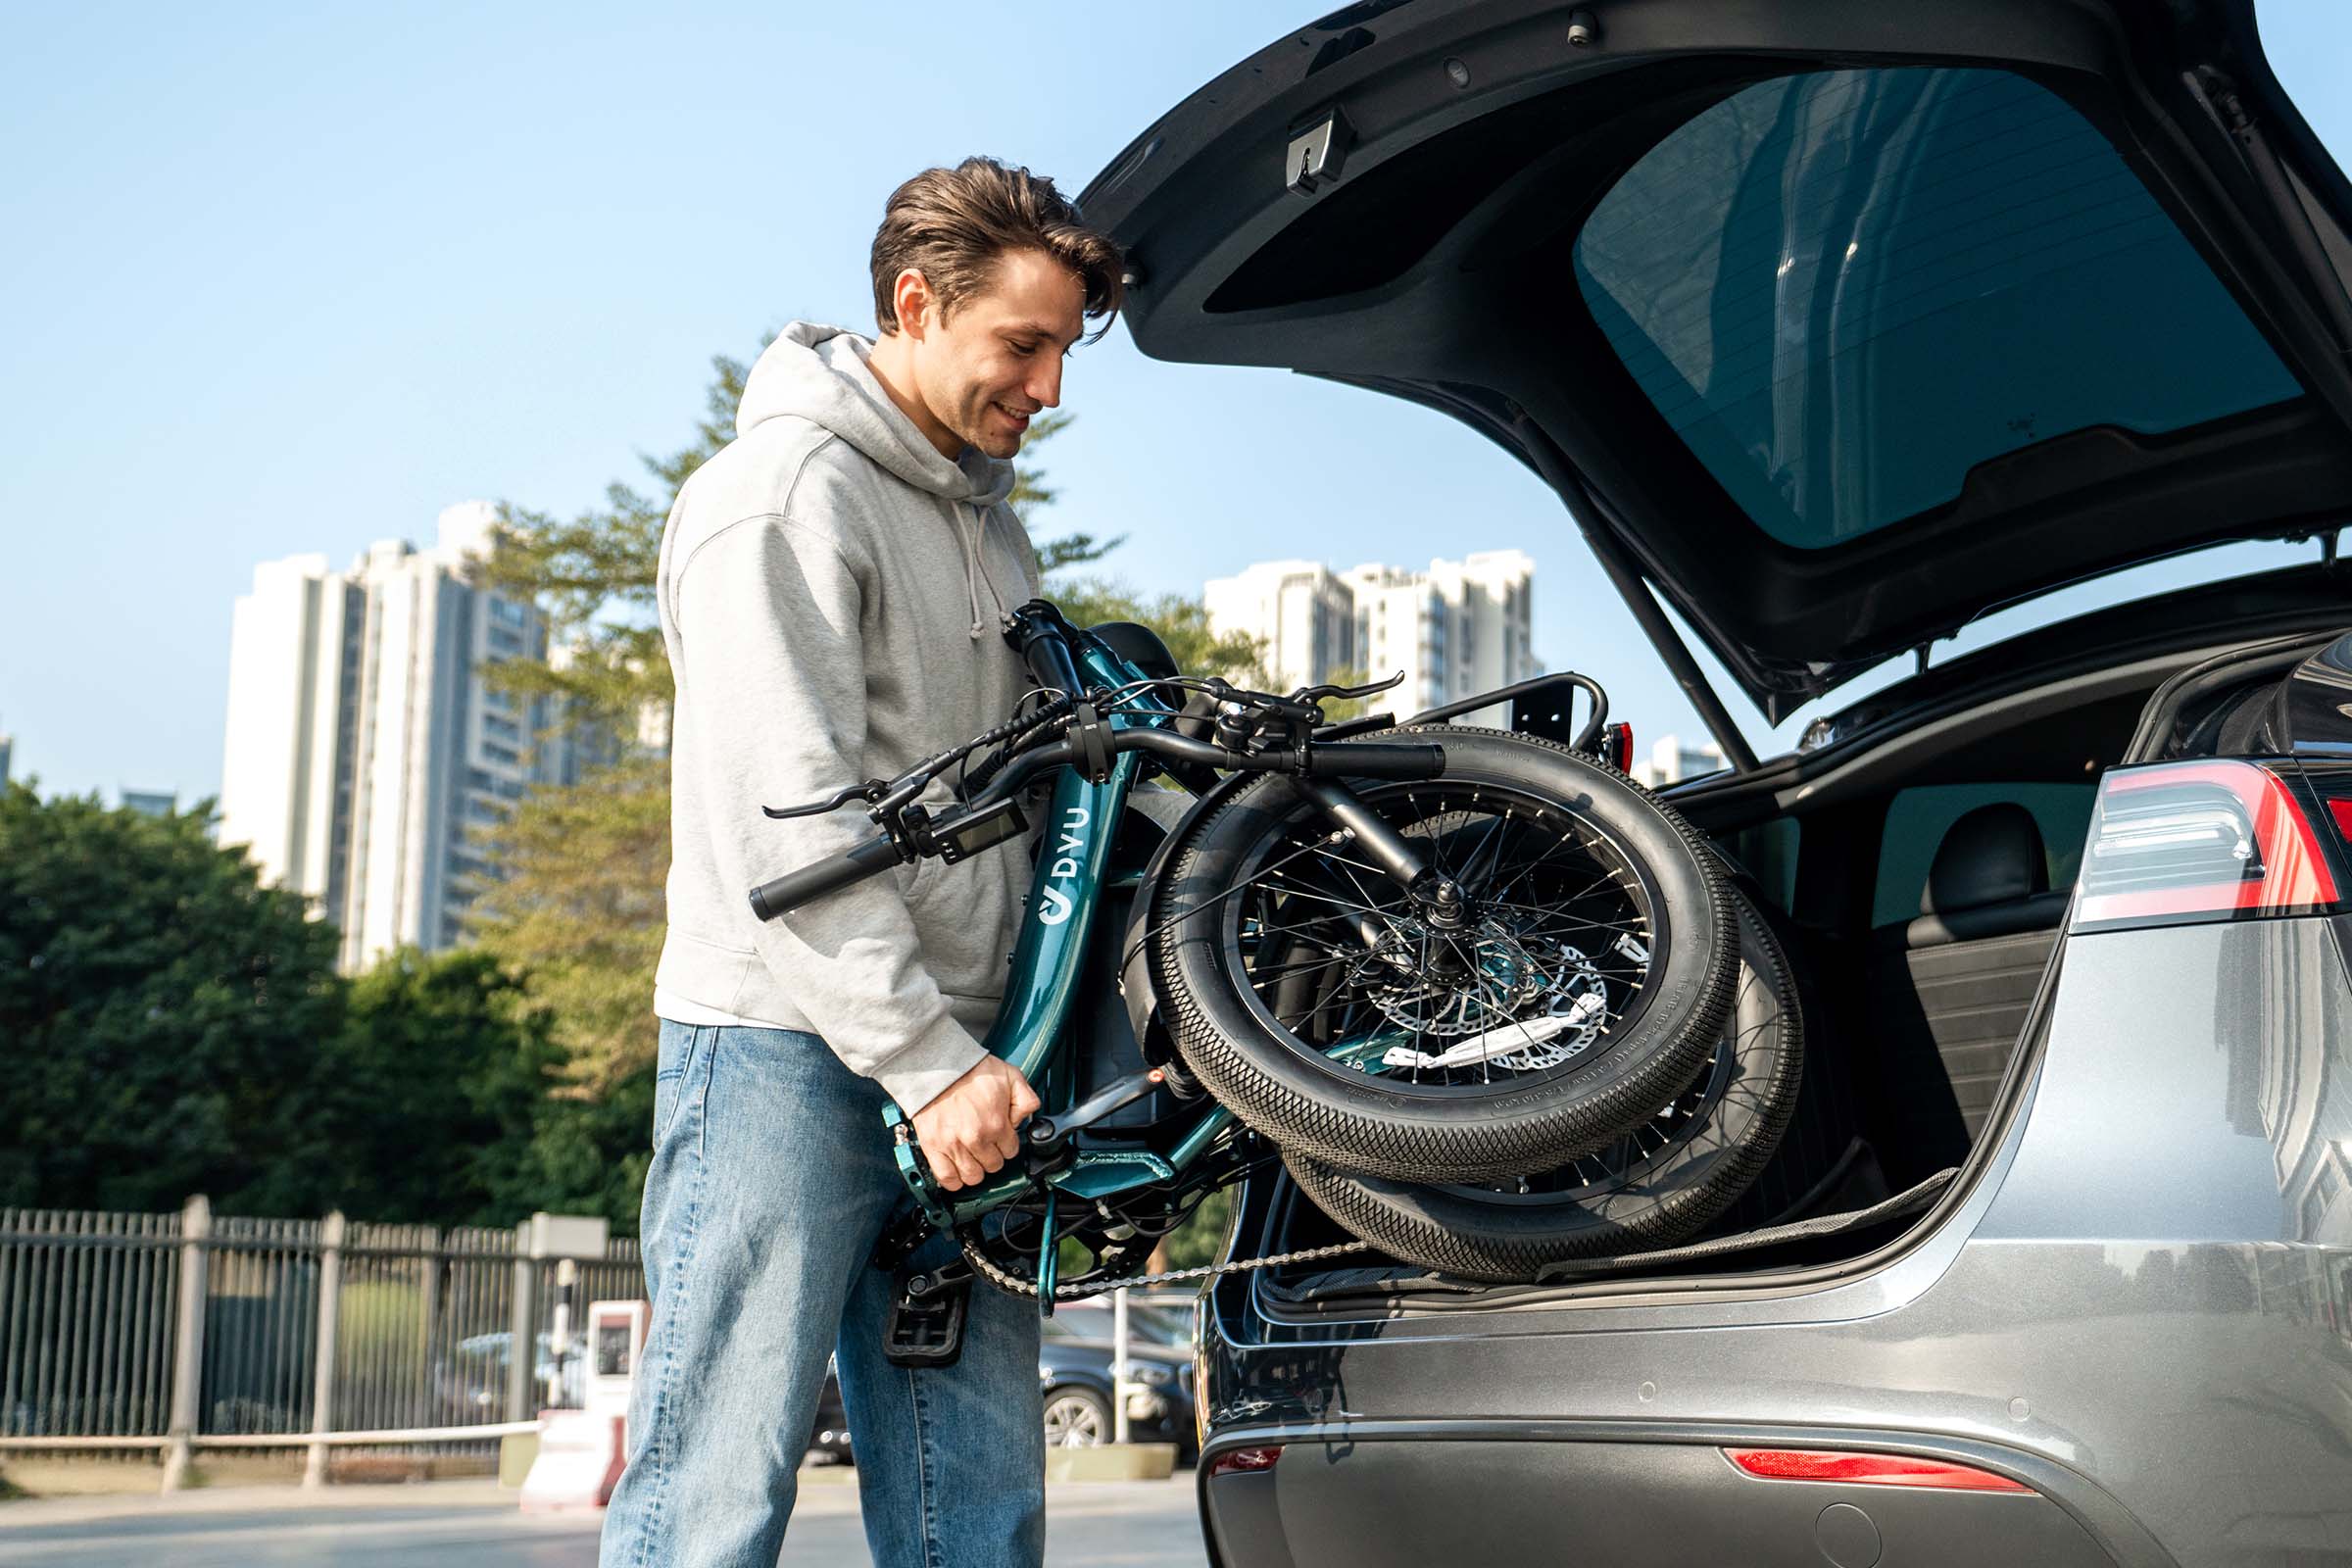
Bike format changes the order of attention. A folding model adds hinges and safety latches. A big-wheel commuter places more emphasis on wheel seating, steering alignment, storage space, and safe handling of a larger box.
| Current example | Listed price | Key delivery checks |
|---|---|---|
| HITWAY BK6S L1 Folding Electric Bike | €899.99 | Folding latch, 20 x 3.0-inch tyre seating, cable clearance while folding, battery lock |
| HITWAY BK15 Plus 29 Inch Electric Bike | €949.99 | 29 x 2.125-inch wheel seating, handlebar alignment, brake-rotor clearance, battery mount |
Both are currently listed with 250W motors and long claimed range windows. The folding BK6S L1 is listed with a 36V 15.6Ah battery and 55 Nm torque, while the BK15 Plus lists a 48V 15.6Ah, 748.8Wh battery and 70 Nm torque. Those figures help compare format and intended use, but delivery inspection still follows the exact manual.
The linked guide to how e-bike range claims should be read explains why the first low-speed ride is not a range test. Rider weight, temperature, tyre pressure, assist level, terrain, and stop-start traffic all affect the eventual result.
Do a Low-Speed First-Ride Test
Cycling UK’s pre-ride M-check gives a systematic way to inspect tyres, wheels, frame, saddle, drivetrain, steering, brakes, and headset. Repeat that check after assembly, then choose a flat, traffic-free place for the first powered test.
- Walk the bike and test both brakes.
- Ride without assist if the bike allows it.
- Select the lowest assist level and start smoothly.
- Test steering, shifting, motor cut-off, display, and lights at low speed.
- Stop after a few minutes and recheck anything the manual says may settle.
Do not start with maximum assist, a steep hill, heavy traffic, a passenger, or a long route. The point is to hear, feel, and verify the bike before conditions become demanding.
Know When to Stop and Get Help
Some jobs should not be learned under pressure. Stop if the frame or fork looks damaged, the steering has play, the wheel will not seat correctly, the brake system leaks, the rotor is badly bent, electrical connectors are damaged, or the battery shows any sign of impact or abnormal heat.
Keep the seller’s photos, serial number, packing list, and messages together. A clear record helps support teams understand whether the issue is shipping damage, a missing part, a setup question, or a component fault.
After the first wet ride, revisit the guide to rain riding and post-ride checks. Water, grit, and reduced grip can reveal a setup problem that a dry parking-lot test did not.
Final Recommendation
An e-bike delivery checklist should feel slow and methodical. Photograph the box, inventory the parts, follow the model manual, use the stated torque values, check wheels and brakes, seat the battery correctly, and begin with a low-speed test.
If any safety-critical step is unclear, a qualified bicycle or e-bike mechanic is the right next move. A professional check costs less than damaged threads, a loose front wheel, or a first ride built on guesswork.
FAQs
Q1. Are electric bikes fully assembled when delivered?
Many arrive partly assembled, but the remaining work varies by model. Common tasks include aligning the handlebar, fitting pedals, installing a front wheel, checking tyre pressure, and seating the battery.
Q2. What should I check before riding a new e-bike?
Check the frame, fork, steering, wheels, tyres, brakes, pedals, battery lock, cables, display, lights, and all assembly steps named in the manual. Start with an unpowered or low-assist test.
Q3. Do I need a torque wrench to assemble an e-bike?
Use the tools and torque method specified by the bike maker. A torque wrench is especially helpful for critical or low-torque fasteners, but it must be used correctly and with the model’s stated values.
Q4. Should I fully charge an e-bike battery before the first ride?
Follow the battery and charger manual for the exact system. Use only the specified charger, inspect the battery first, and stop if there is damage, swelling, unusual heat, fluid, or odor.
Q5. When should a new e-bike be checked by a mechanic?
Get help whenever a safety-critical step is unclear or the bike shows shipping damage, steering play, wheel-seating problems, weak brakes, electrical damage, or an abnormal battery condition.


